
Humps on Drywall Ceiling
Humps on a drywall ceiling show up as raised lines, ridges, or long bumps. MrWalls Drywall & Painting repairs these defects in your ceiling. Call today (413)302-0640
DRYWALL REPAIRCEILING IMPERFECTIONS
Jason Lebeau MrWalls Drywall & Painting
3/2/20266 min read
Humps on Drywall Ceiling
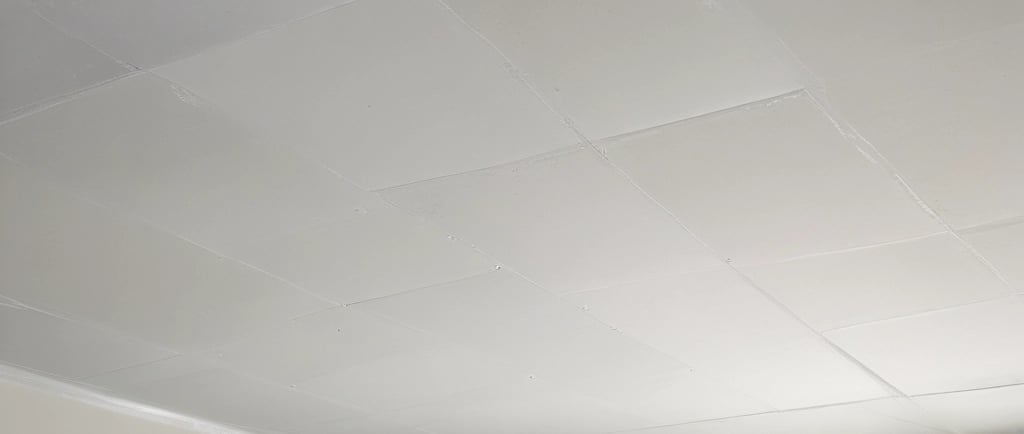
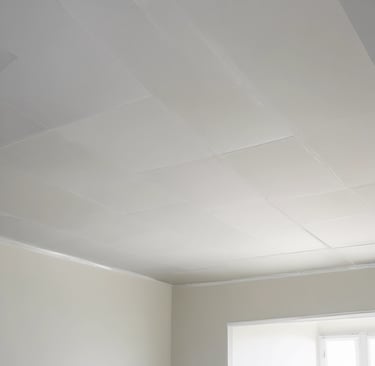
Humps on a drywall ceiling show up as raised lines, ridges, or long bumps. You notice them most when sunlight hits the ceiling at an angle, or when recessed lights throw shadows. Paint often makes the problem look worse.
Most humps come from one of three issues. The joint was finished incorrectly. The drywall moved. The drywall sagged between the framing.
If you want the ceiling to look flat again, you need to fix the cause first. Then you blend the surface with the right drywall finishing steps.
What Humps on a Drywall Ceiling Usually Mean
Some humps stay the same size for years. Others grow over time. The pattern tells you a lot.
If the hump runs in a straight line across the room, you often have a ceiling seam hump. That points to a tape line or a heavy joint compound build that was not feathered wide enough.
If the hump sits near a fastener line, you often have screw pops or loose drywall.
If the hump shows up near inside corners where the ceiling meets the wall, seasonal framing movement is often involved. Truss uplift shows up like this in a lot of Western Massachusetts homes.
Common Causes of Ceiling Humps
Tape line and seam build up
A ceiling seam needs tape and joint compound, then wide feathering. When someone builds the joint too thick, the seam turns into a ridge. When someone uses a narrow knife, the hump stays tight and obvious. When sanding gets aggressive, the joint looks wavy and still reads as a hump under light.
Signs:
The hump follows a straight seam line.
You see a faint line in paint.
You feel a raised ridge with your hand.
Butt joints that were not floated wide
Butt joints sit higher than factory edges. They need a wide float. If someone treats a butt joint like a tapered joint, you get a hump.
Signs:
The hump sits in the middle of a drywall sheet seam.
The ridge feels wider than a tape line.
The ceiling looks flat until the sun hits it.
Loose drywall, missed framing, or wrong fasteners
Drywall needs solid fastening into joists or strapping. If the screws are miss the framing, the board moves. If fasteners are spaced too far apart, the board sags. That sag reads as a hump near the seam because the seam area stays stiff while the field drops.
Signs:
The hump changes when you press nearby.
You hear a slight creak.
You spot screw heads that sit proud.
Framing movement and truss uplift
Ceilings move with seasons. In winter, roof trusses and framing dry out and shift. In summer, humidity changes the framing again. That movement pulls at the ceiling near the walls. The joint line rises, and the corner cracks.
Signs:
Cracks appear where the ceiling meets the wall.
Humps show up near exterior walls.
The issue looks worse in winter.
Moisture and heat problems
Moisture softens drywall. Heat cycles can also stress joints. A roof leak, bathroom steam, or attic humidity can push the paper face and weaken the seam. The joint compound then fails, and the seam telegraphs as a ridge.
Signs:
Stains, yellowing, or a soft feel.
Bubbling paint.
A musty smell in the area.
Old texture work and poor skim coating
Texture removal often leaves high spots. A rushed skim coat leaves ridges. Heavy roller texture hides humps for a while, then paint and time make them visible again.
Signs:
Humps sit under old patch areas.
You see trowel marks or lap lines.
The ceiling has mixed texture zones.
How You Diagnose the Hump Before You Repair It
You do not need fancy tools. You need a straight edge and good light.
Step 1: Shine a light along the ceiling
Use a flashlight or work light held close to the surface. Side lighting shows every ridge.
Step 2: Use a straight edge
A 4-foot level works well. Set it across the hump. If the ridge peaks at the seam, it points to a joint problem. If the ridge spans a wide area, it points to sag or framing movement.
Step 3: Check for movement
Press gently on both sides of the seam. If the drywall flexes, fastening is part of the problem.
Step 4: Look for cracks at corners
Corner cracks plus a ceiling ridge near the wall point to truss uplift or seasonal movement.
Step 5: Look for moisture clues
Stains and soft drywall change the repair plan. You need to solve the moisture source first.
How a Drywall Contractor Fixes Humps on a Ceiling
A good repair does two things. It removes the raised ridge. It blends the area so the paint does not show a shadow line.
Fixing a heavy seam or tape line
If the hump comes from built-up joint compound, the repair often starts with controlled sanding or scraping to knock down the high ridge. After that, the contractor floats the seam wider with thin coats, using a larger knife. The goal is a gradual slope, not a sharp ridge.
If the tape has failed, the contractor removes loose tape and compound, then re tapes the joint. That step matters. Skipping it leads to the ridge coming back.
Keywords that fit this work: ceiling seam repair, taping and mudding, joint compound, drywall finishing, sanding.
Fixing butt joint humps
Butt joints need a wide float. A drywall contractor will build the area out wider so your eye does not catch the transition. This looks like extra work because it is extra work. The width is what hides the hump.
Fixing loose drywall and screw pops
If the board moves, mud work alone will fail. The contractor adds screws into the framing, resets any popped fasteners, and tightens the board. Sometimes the repair also needs adhesive or backing if the original install missed solid framing. After the board stops moving, the finishing steps will hold.
Fixing truss uplift and seasonal movement
Movement needs a different approach. In many cases, the best repair uses a floating corner detail so the ceiling and wall move without tearing the joint. Some homes also benefit from crown molding, which hides movement at the edge. The right choice depends on how much movement you see and where it shows up.
Prime and paint after the repair
Ceiling repairs flash through paint if you skip primer. A drywall contractor will prime the patched area, then paint the full ceiling when needed for a uniform finish.
DIY Fixes for Small Ceiling Humps
Some humps are small and stable. If the drywall does not move and there is no moisture, you can try a basic blend.
What works best:
Light sanding of the high ridge.
A thin skim coat spread wide.
Two or three light coats instead of one thick coat.
Final sanding with a sanding pole and a bright light check.
What usually goes wrong:
Sanding too hard and making a low dish next to the ridge.
Use a small knife so the repair stays narrow.
Skipping primer, then seeing the patch flash in paint.
Patching over a moving seam and watching the crack return.
If you plan to use a drywall repair kit, pick one that includes mesh or tape plus compound. Many kits work for small holes, not long ceiling seams. Ceiling humps often need wider knives and more blending than a kit provides.
What Affects the Cost to Fix Ceiling Humps
Drywall contractor pricing depends on time and finish level. Ceiling work takes longer because setup matters, and sanding dust spreads.
Cost drivers:
Length of the hump and number of seams involved.
Ceiling height and access.
Need for re taping versus floating only.
Texture matching needs.
Moisture damage that requires board replacement.
Full ceiling paint versus spot paint.
If you want a fast estimate, take three photos. One wide shot of the room, one close shot with a light raking across the hump, and one shot that shows the hump length.
How to Prevent Humps on New Ceilings
If you are remodeling or finishing a basement in Chicopee, do these things from the start.
Use the right board thickness for ceilings. Many ceilings look better with 5/8 drywall.
Fasten to framing with the right screw pattern.
Avoid long straight seam runs across strong light lines when layout allows.
Stagger joints and plan butt joints.
Float butt joints wide.
Use clean taping and mudding steps with thin coats.
Control moisture in bathrooms and kitchens with proper ventilation.
When You Should Call a Drywall Contractor
Call a drywall contractor when the hump:
Runs long across multiple seams.
Sits on a ceiling with heavy light glare.
Moves when you press near it.
Shows cracking at corners.
Shows stains or soft drywall.
Those jobs take more than surface mud. They need proper ceiling drywall repair and finishing so the problem does not return. Local Ceiling Repair in Western Massachusetts
MrWalls Drywall and Painting works in Chicopee and nearby towns like Springfield, Holyoke, Ludlow, West Springfield, South Hadley, and Granby. A lot of homes in this area show ceiling seam humps from old repairs, seasonal movement, and past moisture issues.
If you want the humps on your drywall ceiling gone, start with photos and a quick description of what you see. Tell me if the ridge changes with seasons, if you see cracks at corners, and if any water issues happened in that room. That tells you the fastest path to a flat ceiling.